
How To Make A Cyanotype Print Effect With AI
One hex value does most of the work here. #1B3A5B, reserved for the background and used nowhere else.

Ask a model for a cyanotype and it tends to return an object rather than an image: a ragged brushstroke edge, a strip of white paper around the frame, sometimes a shadow underneath as though the print were lying on a table. The reading is fair enough, since most cyanotypes online are photographs of prints, but it is not what you want. The prompt rules that interpretation out in the opening clause, then spends the rest of its length controlling tone and separation.
Every image in this post came out of it.
The prompt
Convert @Image1 into an authentic cyanotype-style image rendered edge to edge, filling the entire frame completely with no border, no paper margin, no white frame, and no brushstroke edge of any kind, the cyanotype look applied directly to the whole image as a full-bleed rendering. Preserve the exact composition, subject, pose, framing, and every fine detail of the source, and hold onto the full local contrast and tonal separation of the original so that every form, fold, edge, and material stays clearly legible after conversion. Map the image into a monochrome scale built only from Prussian blue and paper white. The brightest areas become clean paper white with a faint cool bloom, and the mid and lower tones pass down through pale, mid, and deep cyan-blue while keeping their internal detail intact. Reserve the single deepest value, a rich saturated Prussian blue at hex #1B3A5B, for the background alone, and keep the background a flat even field of that deep blue with no added scenery, objects, panels, or environment. Keep the darkest parts of the subject, including dark clothing and shadowed areas, one clear step lighter than the background in a readable mid-blue that retains fabric texture, folds, and edge definition, so the whole figure stays separated from the ground. Lift the entire silhouette with subtle tonal separation and a faint cool rim of light around its outer edge. Carry fine cotton-fibre paper grain evenly across the full frame as texture only, with gentle tonal mottling, a soft matte analog finish, softly bloomed highlights, and crisp preserved detail throughout. The result reads as a monochromatic blue sun-print rendered full-bleed: painterly, tactile, and chemical, with the full subject staying visible through contrast.
The background does the heavy lifting
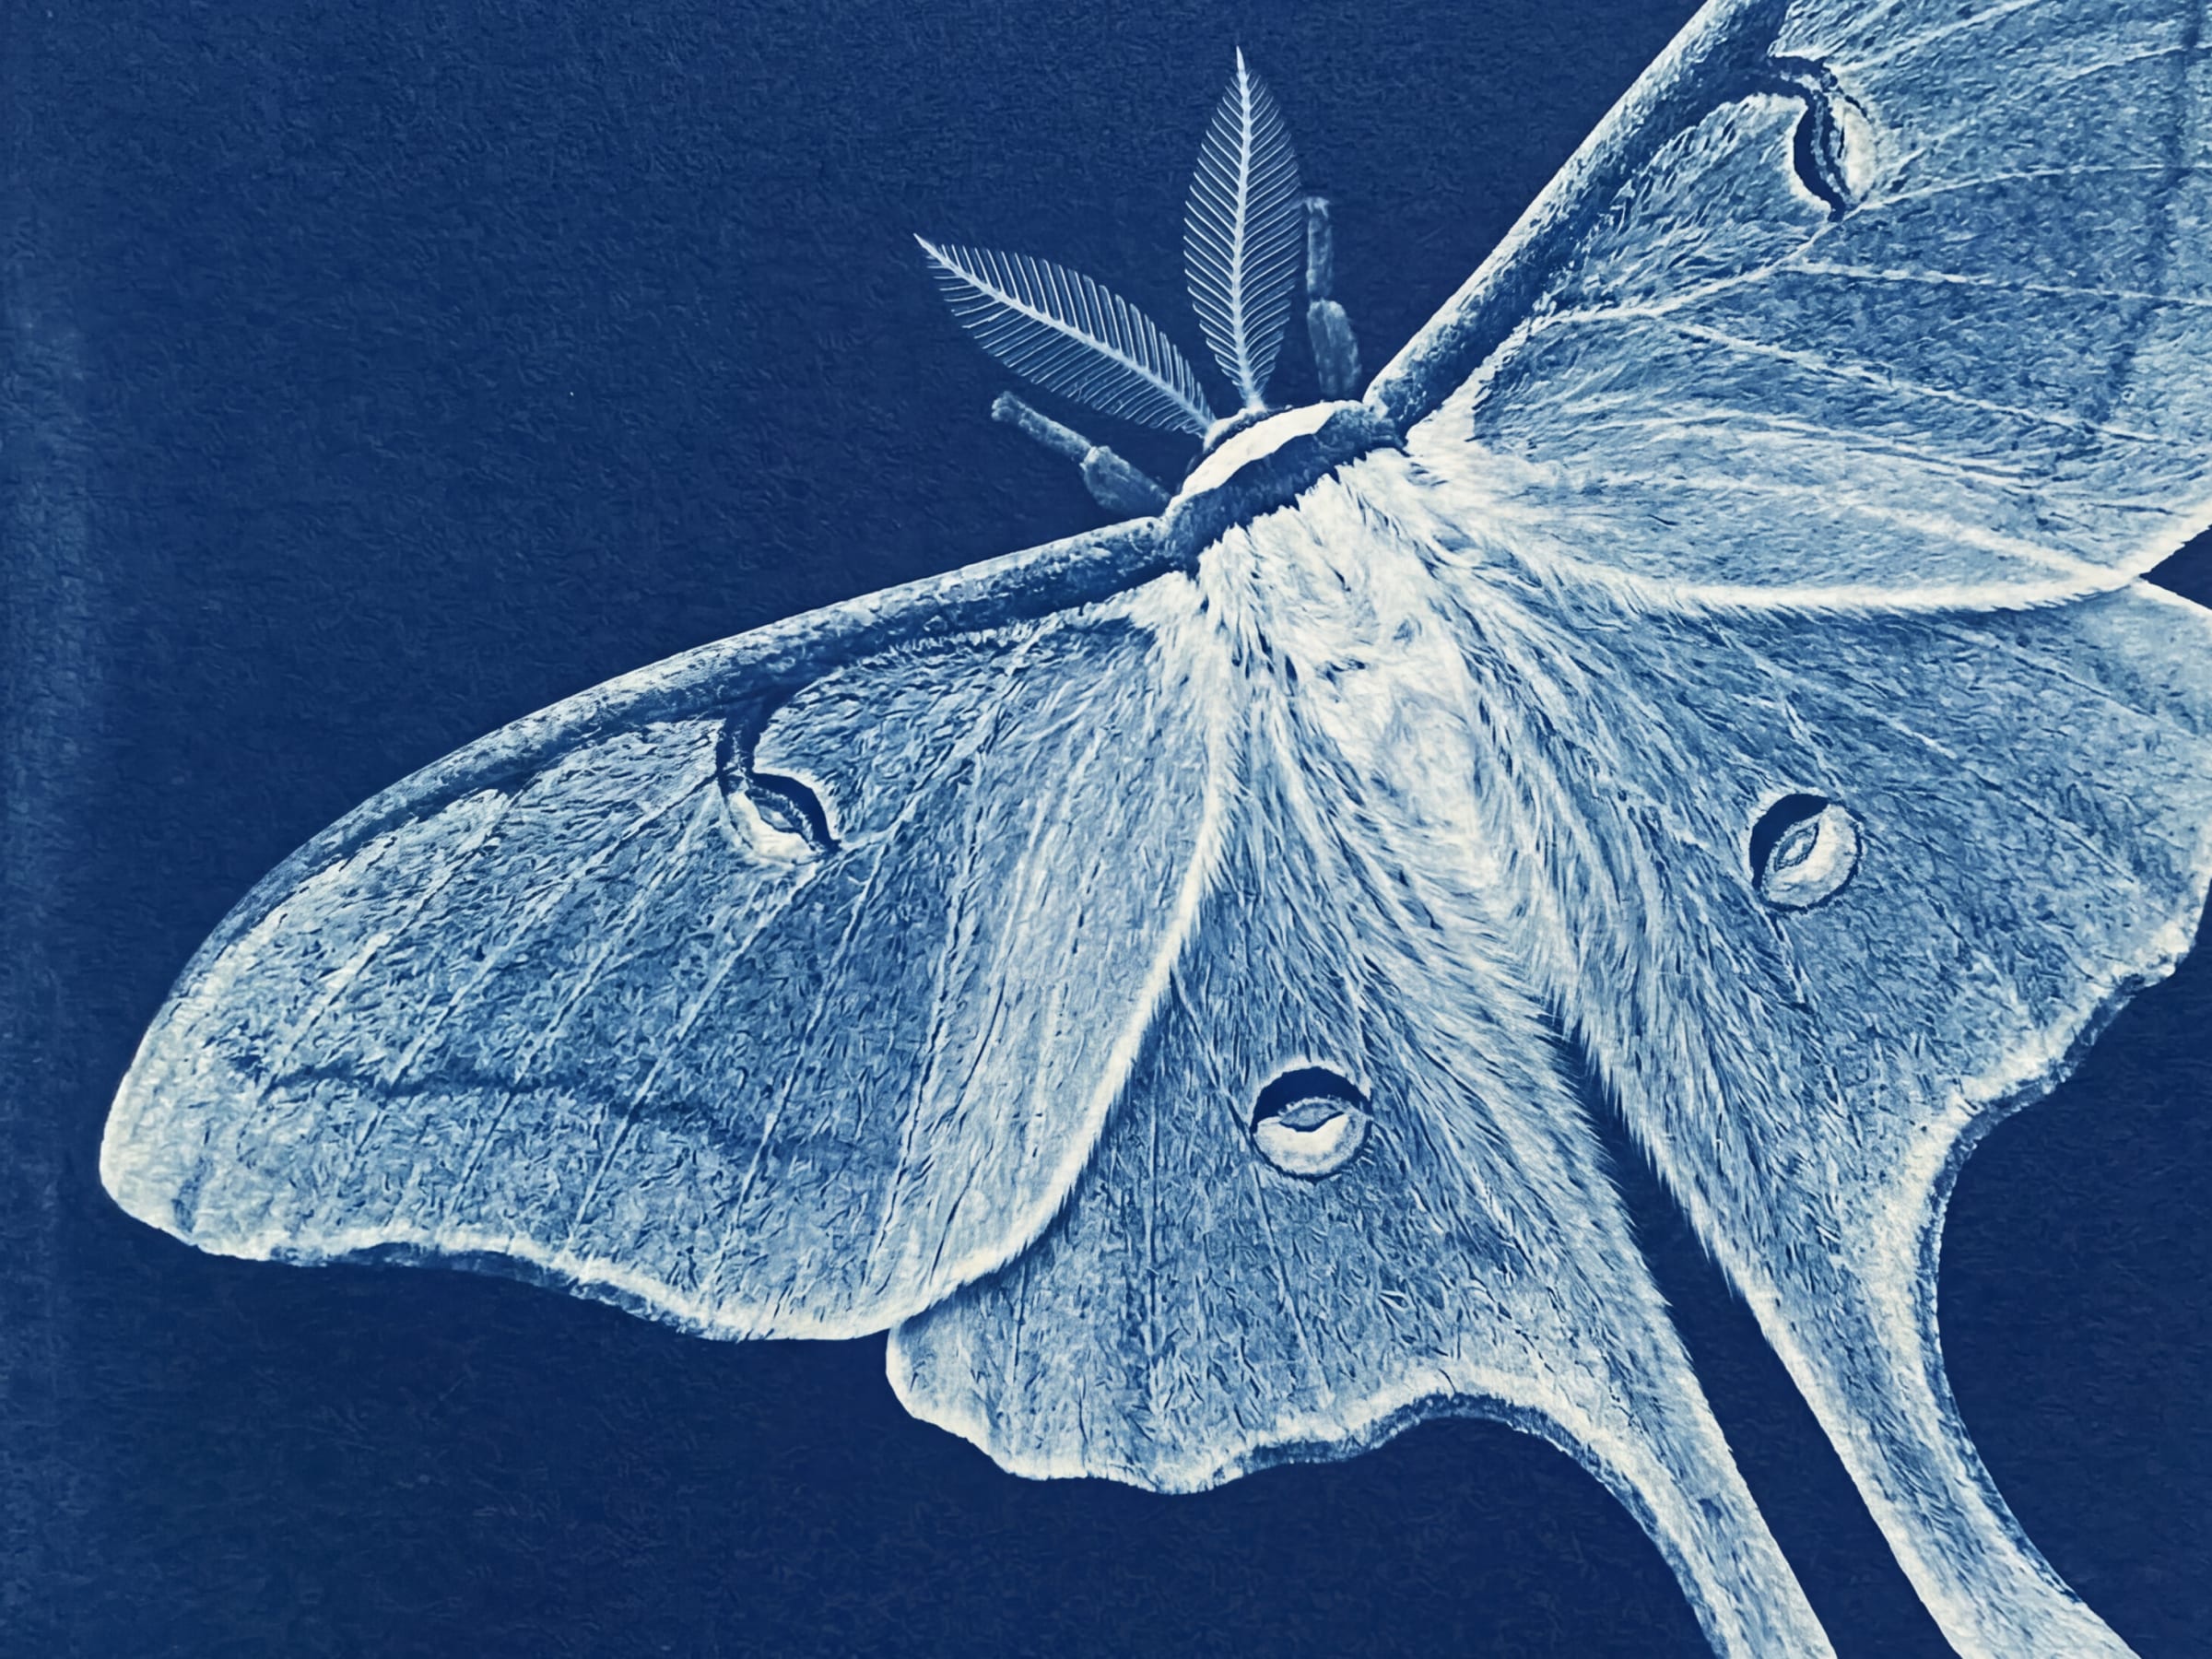
Two instructions matter more than the rest: the deepest value in the frame belongs to the background alone, and that background stays a flat, even field with nothing introduced into it. Remove the second instruction and the model starts inventing space around the subject: vignettes, chemical spills, paper mottling, sometimes enough tonal variation that the background begins to behave like a scene instead of a field.
Naming the value rather than describing it is what keeps a set together. Deep Prussian blue sounds precise, but it still leaves room for interpretation; one run lands greener, another darker, another more saturated. That drift barely matters in a single image, but it becomes obvious when several sit next to each other. #1B3A5B gives the model one target and reserves it for one job.
Separating the subject from the ground
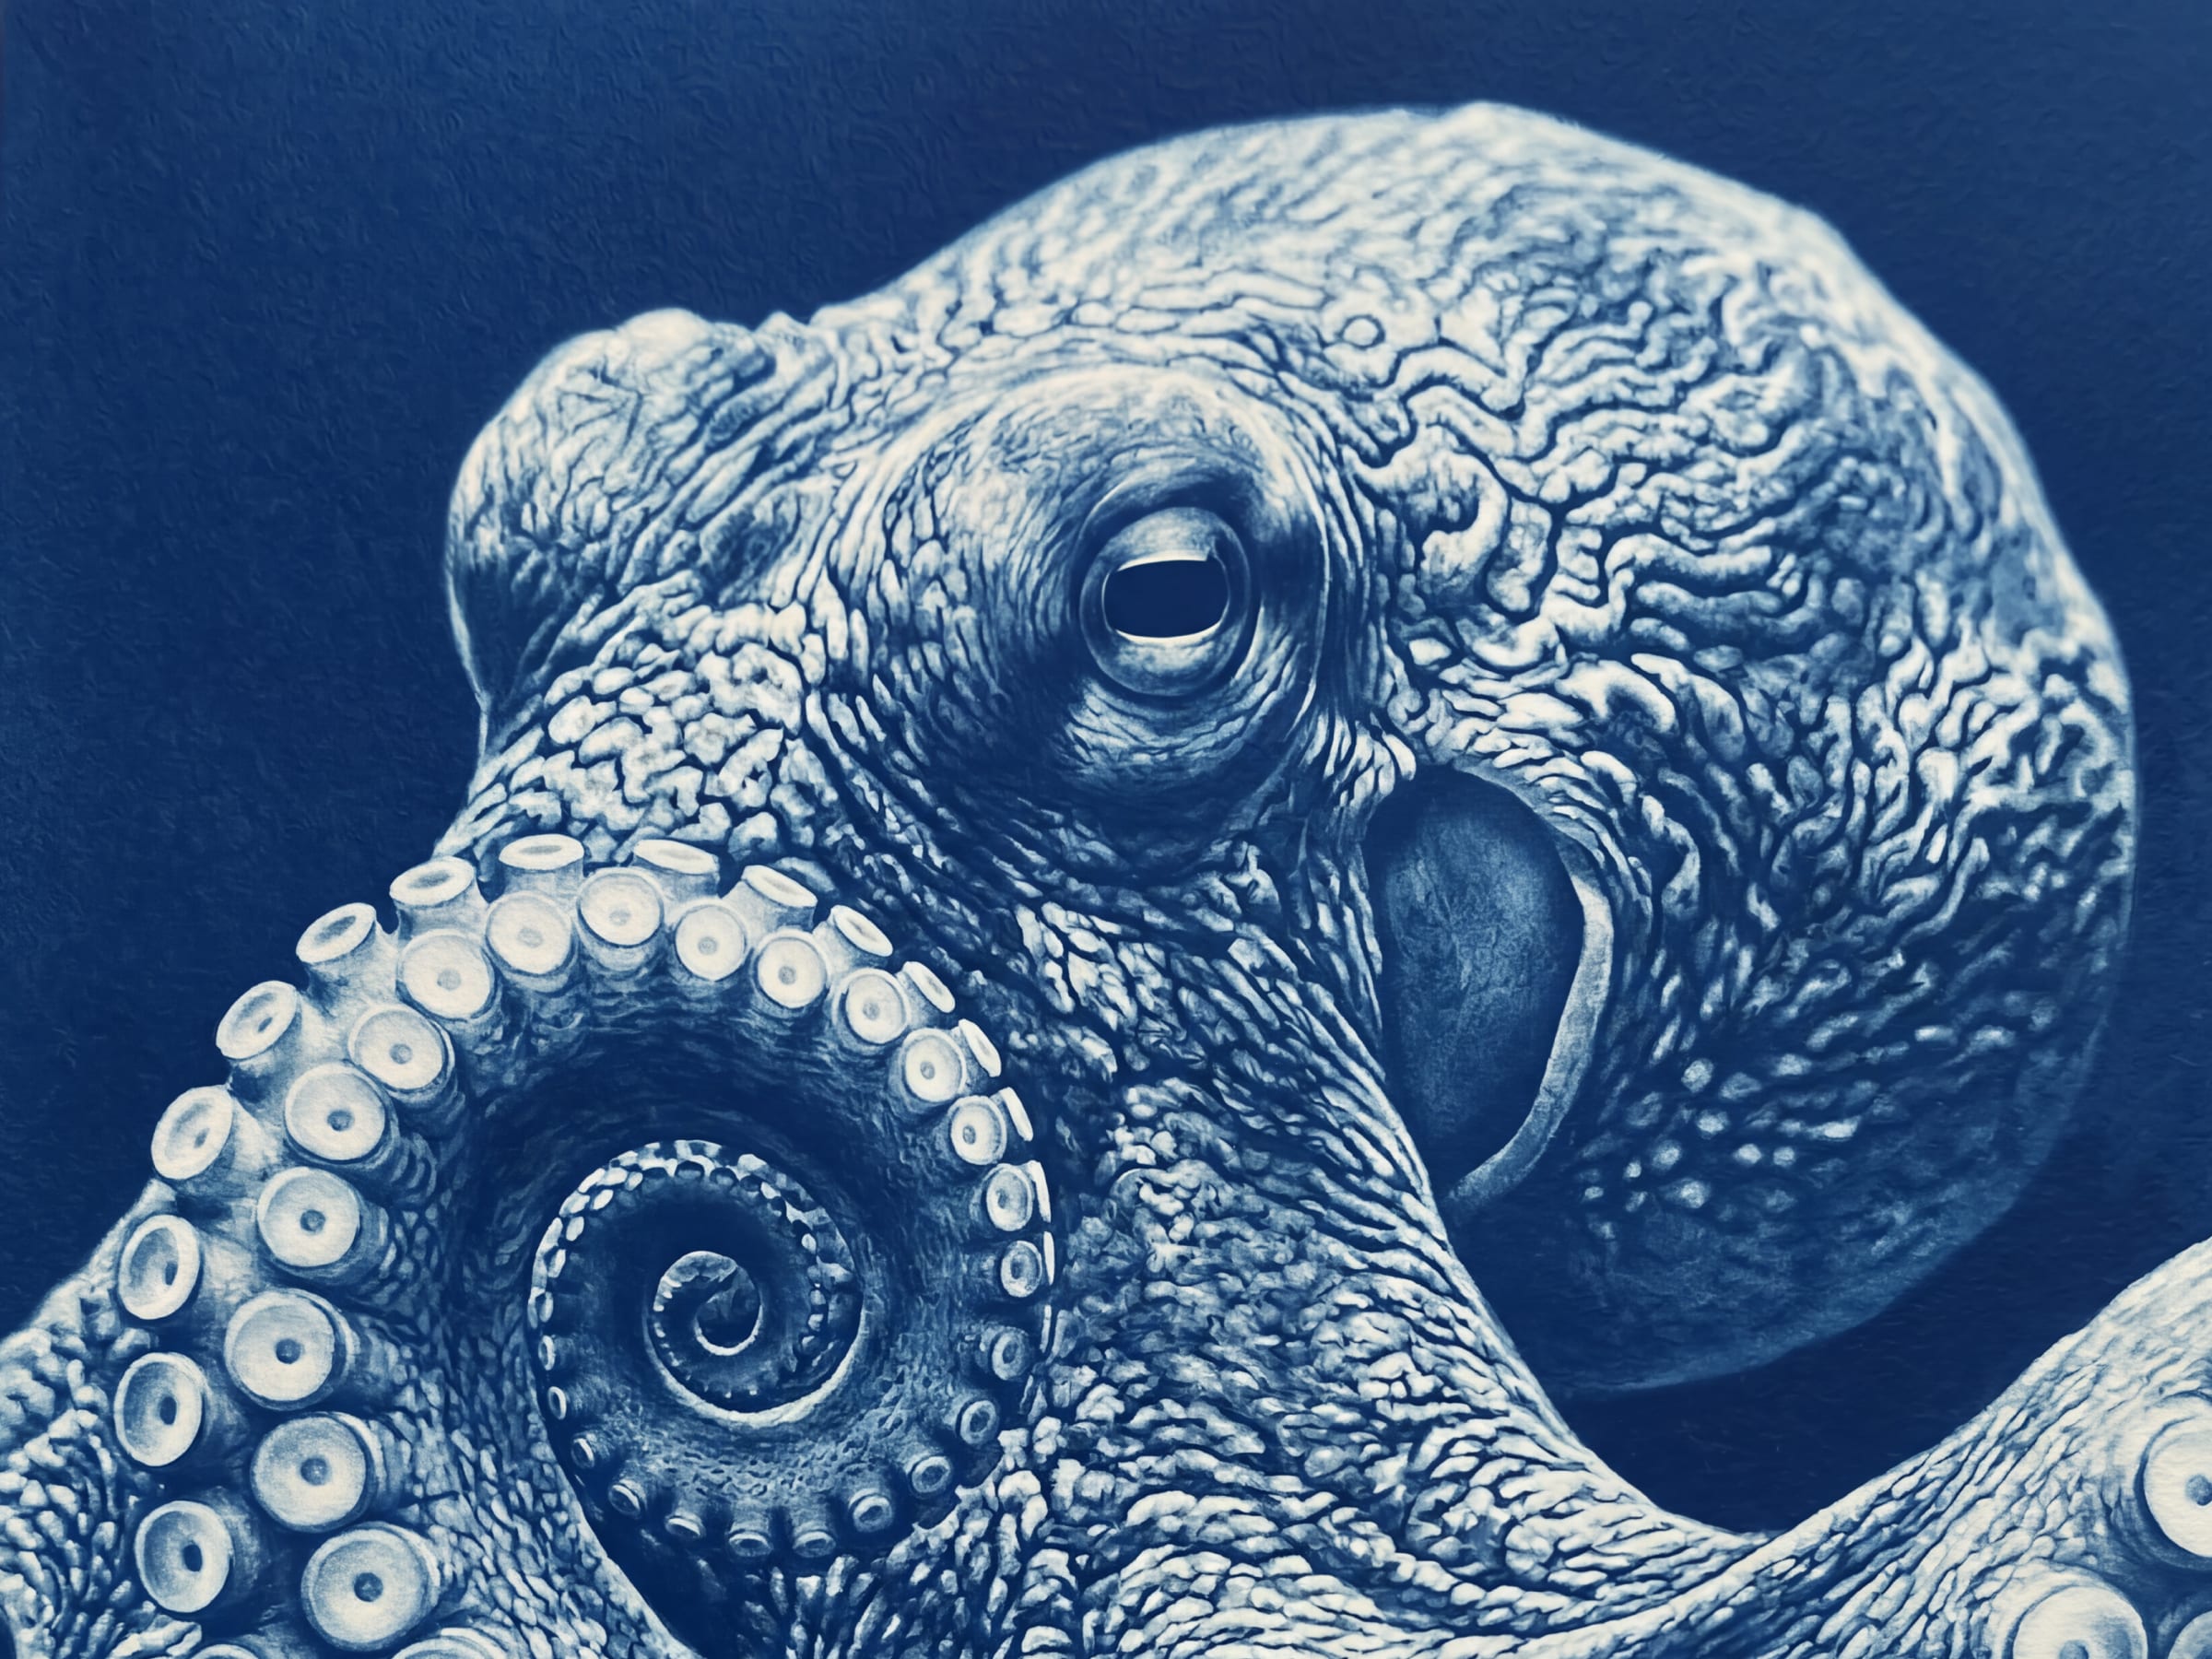
Giving the darkest blue exclusively to the background creates the next problem: anything already dark in the source wants to disappear into it. A black jacket, deep shadow, dark hair or the underside of a wing can all collapse into the same value, so the prompt sets a floor for the subject instead. Its darkest areas stay one clear step lighter than the ground, with enough information left to hold texture, folds and edge definition.
The faint cool rim around the silhouette finishes the separation. It does roughly what a separation light does on set: almost invisible around a clean edge, but useful around hair, feathers, loose fabric or anything with a complicated outline that would otherwise soften into the blue field.
What to run it on
It works best on a single subject with readable edges and actual surface texture. The prompt preserves local contrast more than it creates new contrast, so a flat, evenly lit source usually comes back as a flat, evenly lit cyanotype. The conversion changes the material, but it cannot create much separation that was never present in the source.
Busy backgrounds are harder for the opposite reason. The prompt is asking the model to preserve the image while also flattening its environment into one field, and a detailed background gives those instructions something to argue about. The result often lands halfway between a preserved scene and a clean print, which is why simpler sources tend to convert more cleanly.
This process dates from 1842 and it survives because it throws colour away completely and hands the entire picture over to texture. Anything with a surface gains from that. Anything without one has nowhere left to go.


